Configuring the CMF Document
To configure a CMF document, follow the procedures described in the following sections.
Creating an ItemType «Parts Warehouse»
-
Login to Aras innovator and select Administration -> ItemTypes from the TOC.
-
Create a new ItemType with the name Parts Warehouse. Give "TOC Access" for this item type, set appropriate "Permissions", set "Can Add" identity.
-
Also add new property "name" for this item type (type: string, length: 32, required: true).
Creating a CMF Content Type
-
Go to Administration-> Content Modeling -> Content Types. The following menu appears:
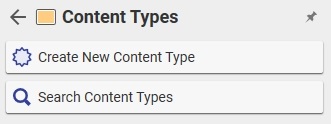
Figure 30.
-
Click Create New Content Type. The following window appears:
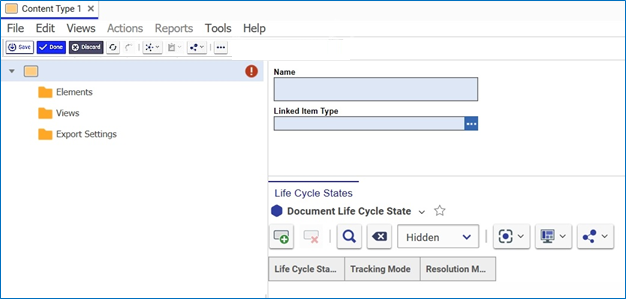
Figure 31.
-
Enter the name Parts Warehouse Content Type in the Name field.
-
Select Parts Warehouse as the Linked Item Type.

Figure 32.
-
Save the Content Type.
Creating CMF Element Types and Properties
-
Add a new CMF Element by right clicking the Elements folder and selecting Add Element Type from the context menu.
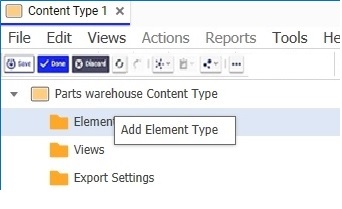
Figure 33.
The Element Type tab appears.

Figure 34.
-
Enter Zone in the Name field for the newly created Element.
-
Add a Property Type for this element by clicking the right mouse button on the Zone Element and selecting Add Property Type from the context menu.

Figure 35.
-
The Property Type page appears.
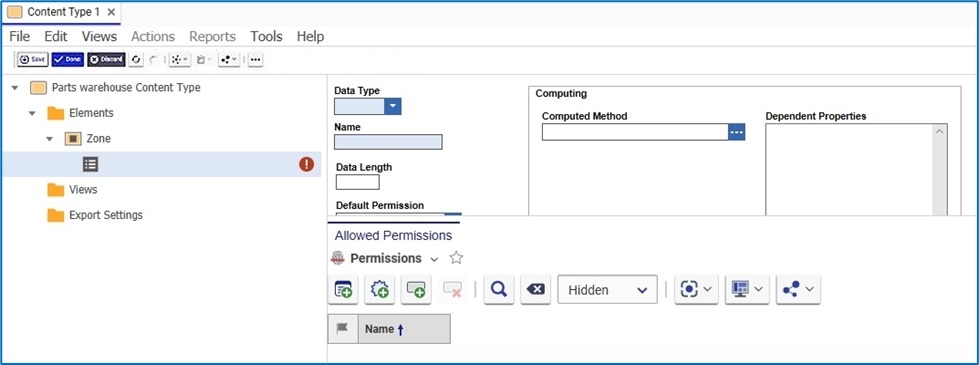
Figure 36.
-
Select String from the dropdown list in the Data Type field.
-
Enter Zone Number in the Name field.
-
Enter 32 in the Data Length field.
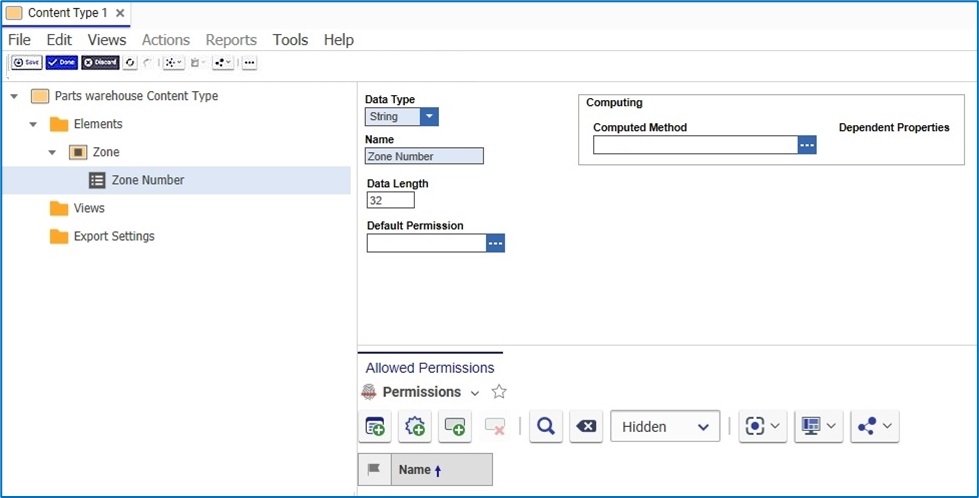
Figure 37.
-
Right click on the Zone element and select Add Child Element Type from the context menu.
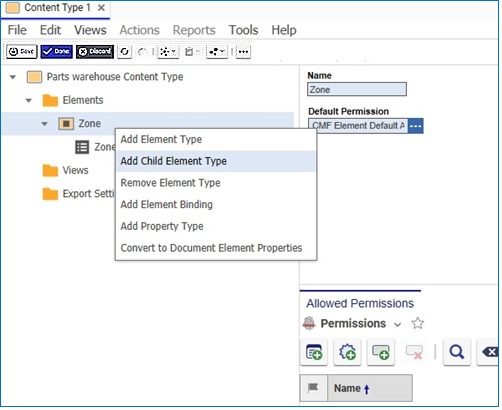
Figure 38.
-
Enter Place in the Name field for the Element Type and click Save.
-
Right click on the Place element and select Add Property Type from the context menu to create a new property type.
-
Select String in the Data Type field.
-
Enter Place Number in the Name field.
-
Enter 32 in the Data Length field.
-
Click Save.
-
Right click on the Place element to add a Child Element Type.
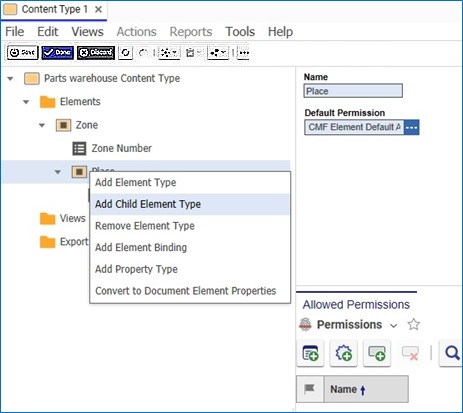
Figure 39.
-
Select Add Child Element Type from the context menu. The Element Type page appears.
Figure 40.
-
Enter Part Link in the Name field and click Save.
-
Right click on Part Link and select Add Property Type from the context menu.
-
Choose String from the dropdown list in the Data Type field.
-
Enter 32 in the Data Length field and click Save.
Adding Element Binding on a Document Item Type
-
Right click Part Link and select Add Element Binding from the context menu.
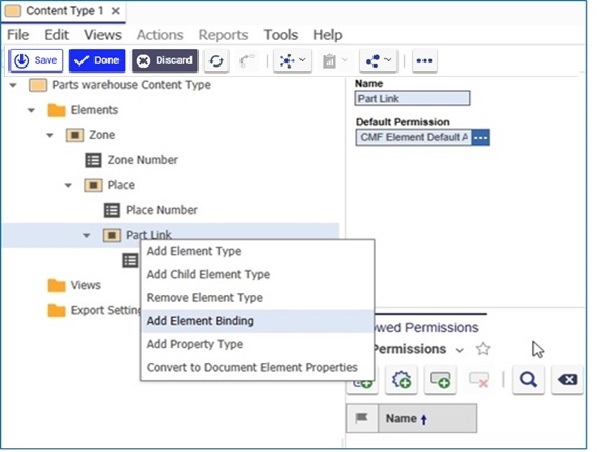
Figure 41.
The Binding element appears, as shown in Figure 42.
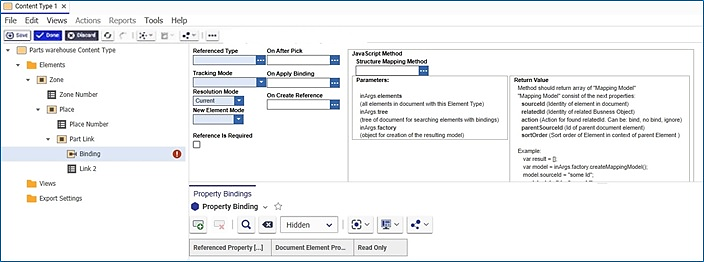
Figure 42.
-
Select Part as a Referenced Type property.
-
Select Show Differences from the Tracking Mode dropdown list.
-
Select Current from the Resolution Mode dropdown list.
-
Select the Reference is required checkbox and click Save.
-
Select Pick Only from the New Element Mode dropdown list.
-
Click the New Property Binding icon
 on the Property Bindings tab to add a Property Bindings relationship for the Element Binding.
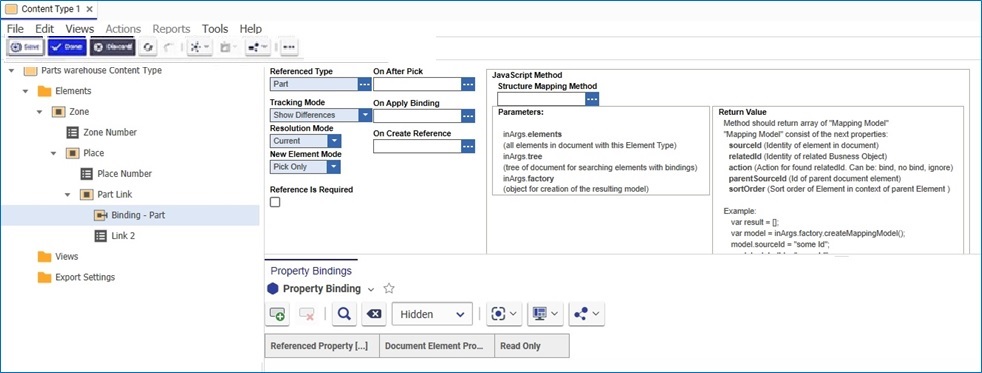
Figure 43.
-
Click the New Property Binding icon and click the
 in the Referenced Property column. The Select Items Properties dialog appears.
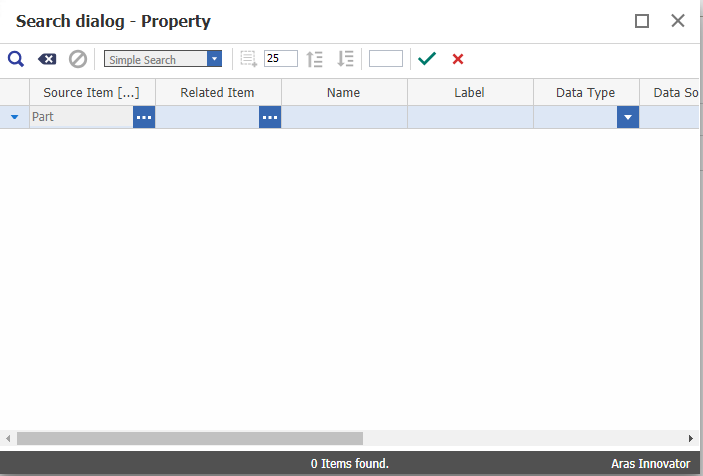
Figure 44.
-
Click the Run Search icon and select item_number from the property list.
-
Click the Document Element Property column and click the
to access the Search dialog. -
Enter Part Number in the Name column and click the Search icon.
-
Select Part Number and click the
 icon to select it.
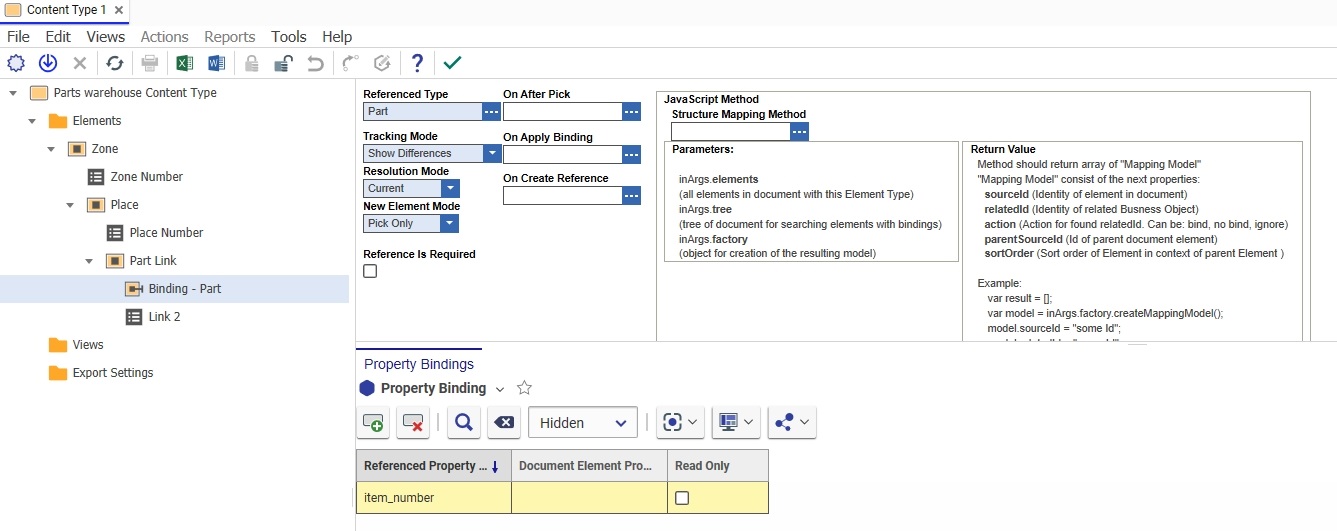
Figure 45.
Adding a View for a Content Type
Use the following procedure to add a new "View" for the Parts Warehouse Content Type:
-
Right click the View folder and select Add View from the context menu. The Select ItemType dialog appears:
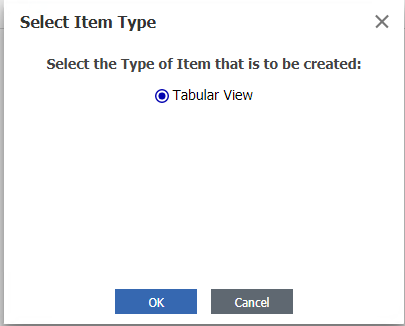
Figure 46.
-
Click OK. The Tabular View page appears.
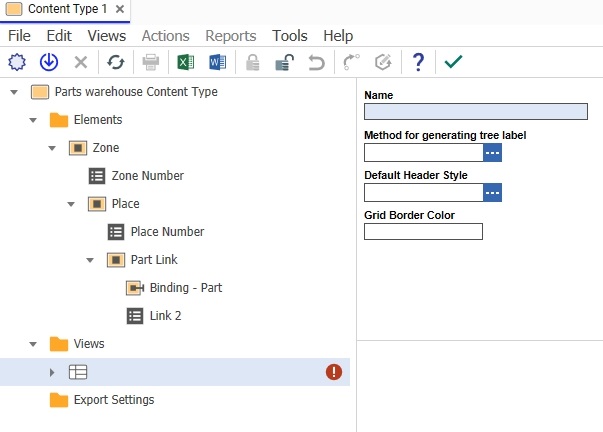
Figure 47.
-
Enter Part Warehouse View in the Name field and click Save.
-
Expand the Part Warehouse View tree and right-click Columns.
-
Select Add Column from the context menu. The tabular View Column window appears.
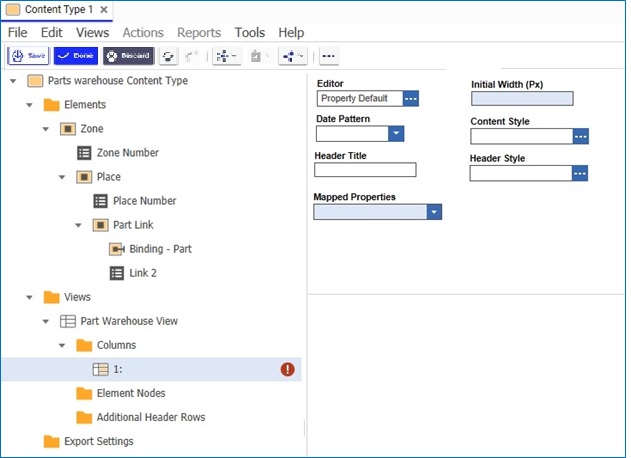
Figure 48.
-
Enter Zone Number in the Header Title field.
-
Select Zone Number from the dropdown list in the Mapped Properties field.
-
Enter 300 in the Initial Width field and click Save.
-
Right click 1: Zone Number and select Add Column from the context menu to add another tabular view.
-
Enter Place Number in the Header Title and Mapped Properties fields.
-
Enter 300 in the Initial Width field and click Save.
-
Right click on the Place Number column and select Add column from the context menu.
-
Enter Part Number in the Header Title and Mapped Property fields.
-
Enter 300 in the Initial Width field and click Save.

Figure 49.
-
Save, Unclaim and close Parts Warehouse Content Type.
Adding an "OnFormPopulate" Event and Name Property
-
Select Administration-> Forms. The following menu appears:
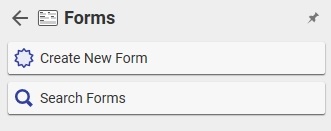
Figure 50.
-
Click Search Forms. The Form Search grid appears.
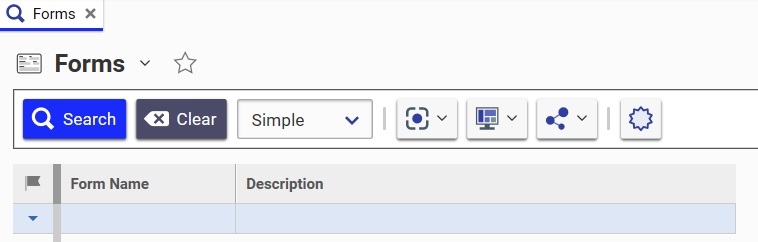
Figure 51.
-
Open the Parts Warehouse form and click
 to claim the form for editing.
-
Select the Form Event tab and click the Add Methods icon
 . The Search dialog box appears.
 -
Search for and select the cmf_ShowContentType method. It appears in the Name column.
-
Click the cell in the Event column and select the onFormPopulated event.
-
Add the Name property to the form (if it does not already exist).
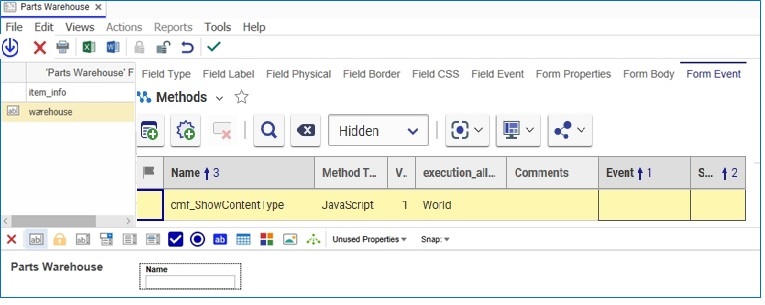
Figure 52.
-
Save, Unclaim and Close the Form.
Checking the Metadata Configuration
-
Go to Administration>ItemTypes in the TOC and select Search ItemTypes. The ItemTypes search grid appears.
-
Select Parts Warehouse and click Edit.
-
Click the Views tab, select Create Related from the dropdown list. Click the Create Item
 icon to add a view named “Warehouse 1” and save.
 -
Then go to “View” using the sidebar button. You should see the result of metadata configuration.
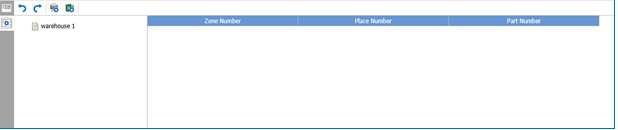
Figure 53.
Configuration is completed.